| View previous topic :: View next topic |
| Author |
Message |
roverv8bay
Initiate Jedi

Joined: 14 Apr 2013
Posts: 38
Location: sunshine coast australia
|
 Posted: Wed Jun 19, 2013 2:08 am Post subject: 4x4 bay conversion Posted: Wed Jun 19, 2013 2:08 am Post subject: 4x4 bay conversion |
 |
|
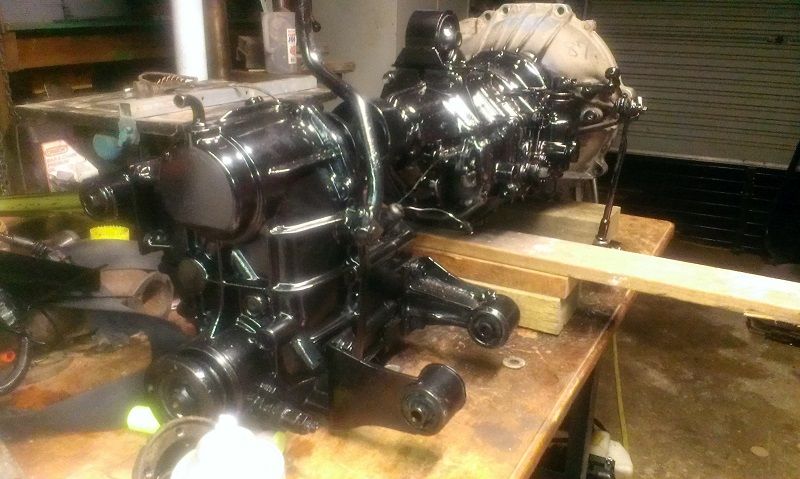
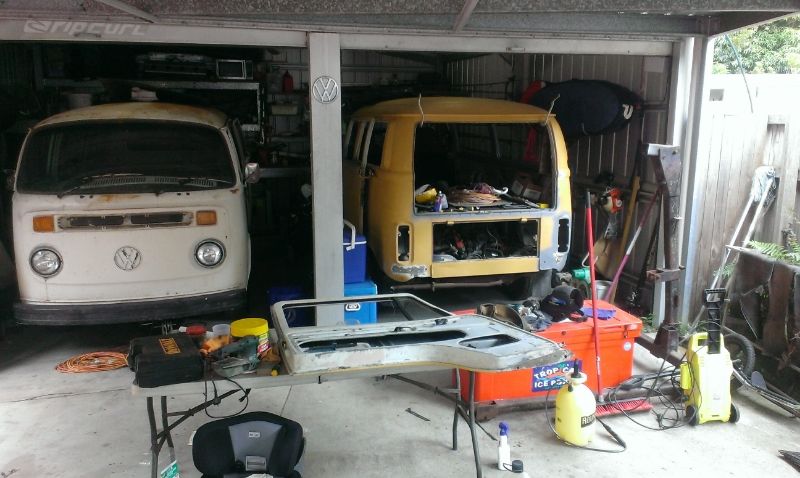
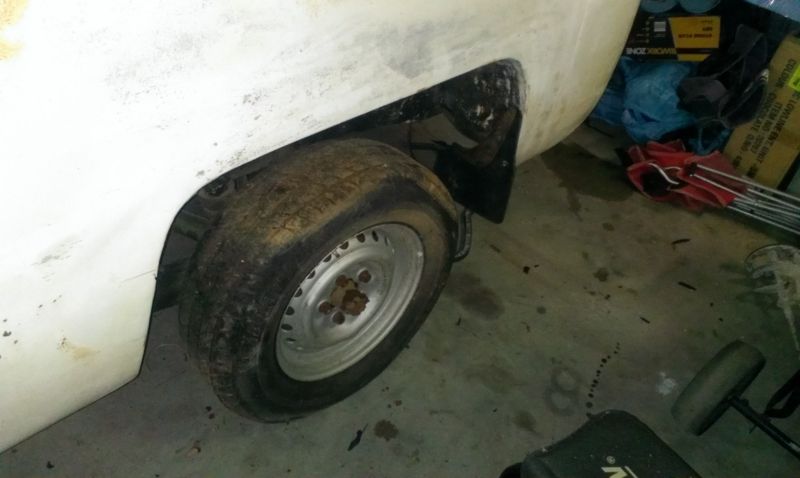
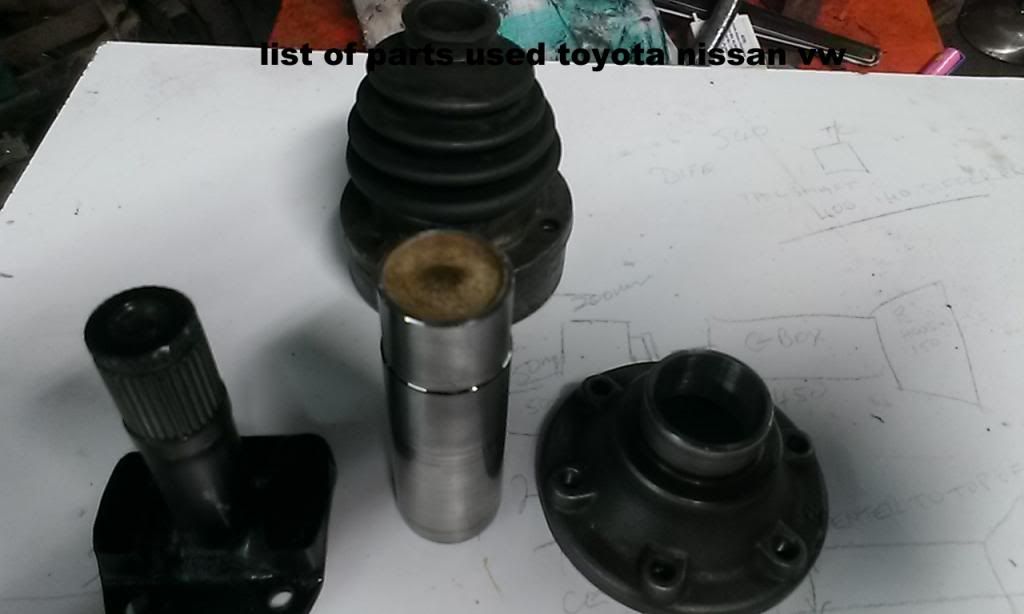
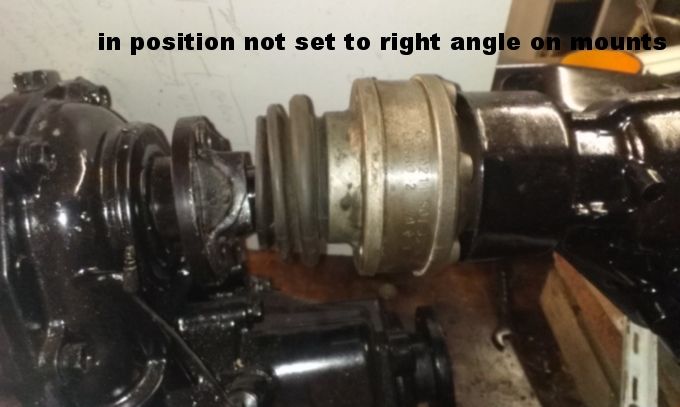
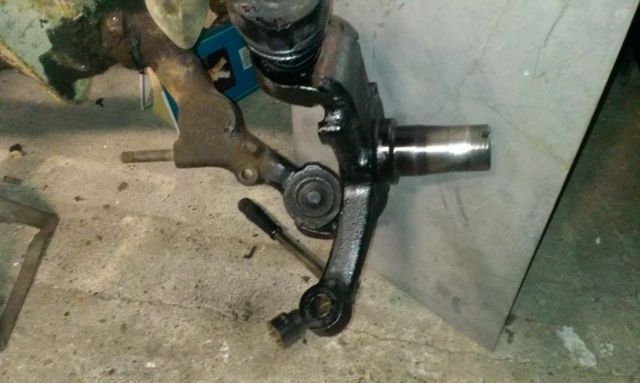
G'day all. some may have noticed my build on other sites for those who haven't this is a short version. I'm building a 4x4 bay using rover v8 mid engine Toyota hi ace 5speed Nissan 720 transfercase our Holden commodore IRS diff centre's 3.08 ratio front drive spindles out of rodeo. the rear axles are standard kombi with adapters to bolt to diff some pics


 |
|
| Back to top |
|
 |
roverv8bay
Initiate Jedi
Joined: 14 Apr 2013
Posts: 38
Location: sunshine coast australia
|
| Posted: Sun Jun 22, 2014 9:23 am Post subject: |
|
|
G'day all. Been a while since I posted been laid up from heavy lifting with a torn rotator cuff. so most of the light stuff done here are some catch up pics
ernie

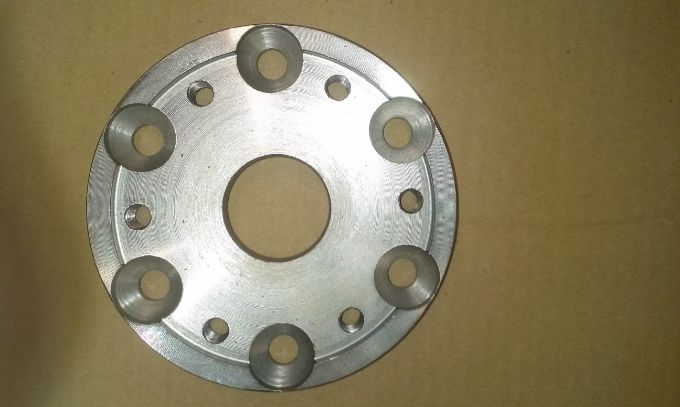
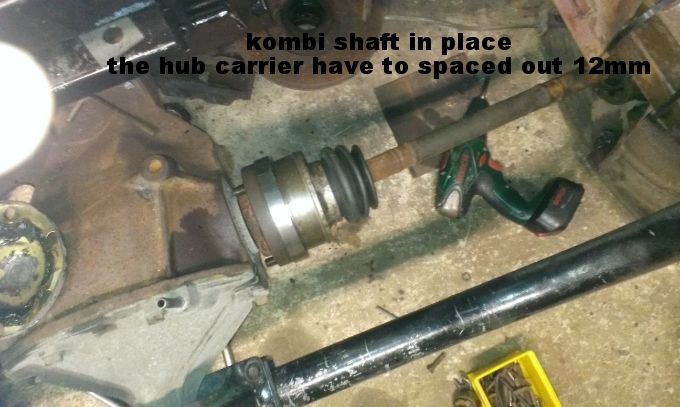
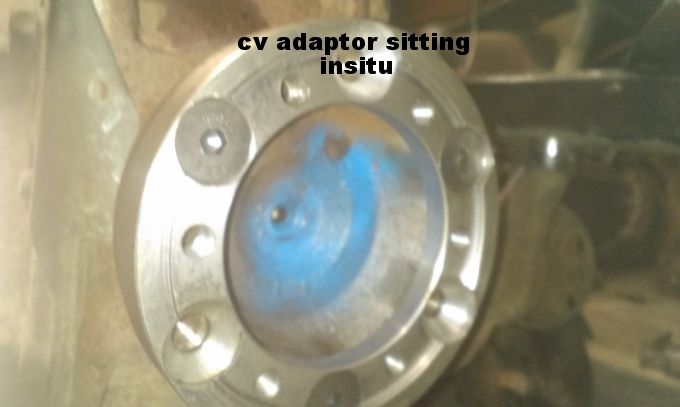
this is the adapter for bolting the bus CV to the commodore diff flange simple set up
 |
|
| Back to top |
|
|
roverv8bay
Initiate Jedi
Joined: 14 Apr 2013
Posts: 38
Location: sunshine coast australia
|
| Posted: Sun Jun 22, 2014 9:49 am Post subject: |
|
|
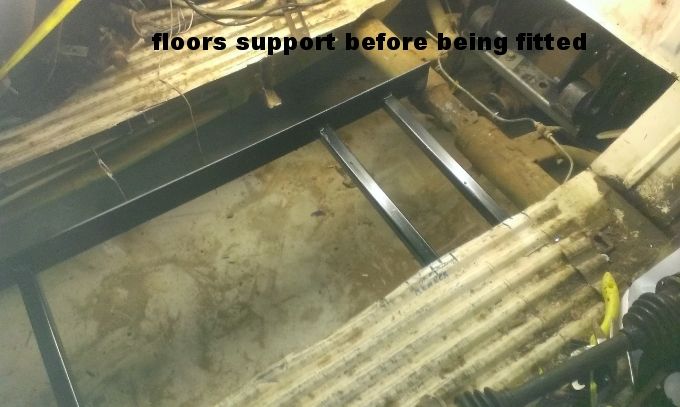
This is the frame to slide into the floor supports they sit on the torsion tube & front chassis member
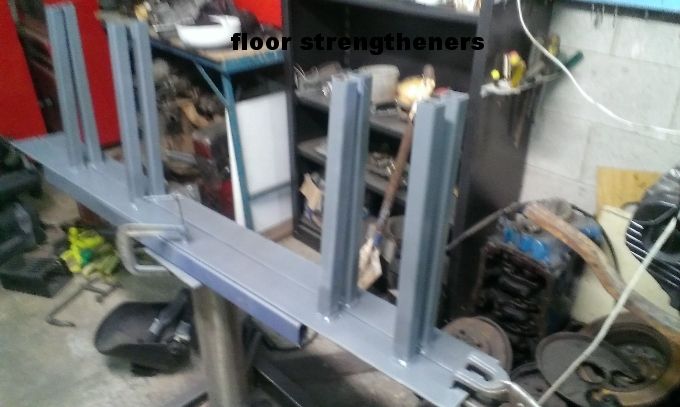
fitting
 |
|
| Back to top |
|
|
roverv8bay
Initiate Jedi
Joined: 14 Apr 2013
Posts: 38
Location: sunshine coast australia
|
| Posted: Sun Jun 22, 2014 9:59 am Post subject: |
|
|
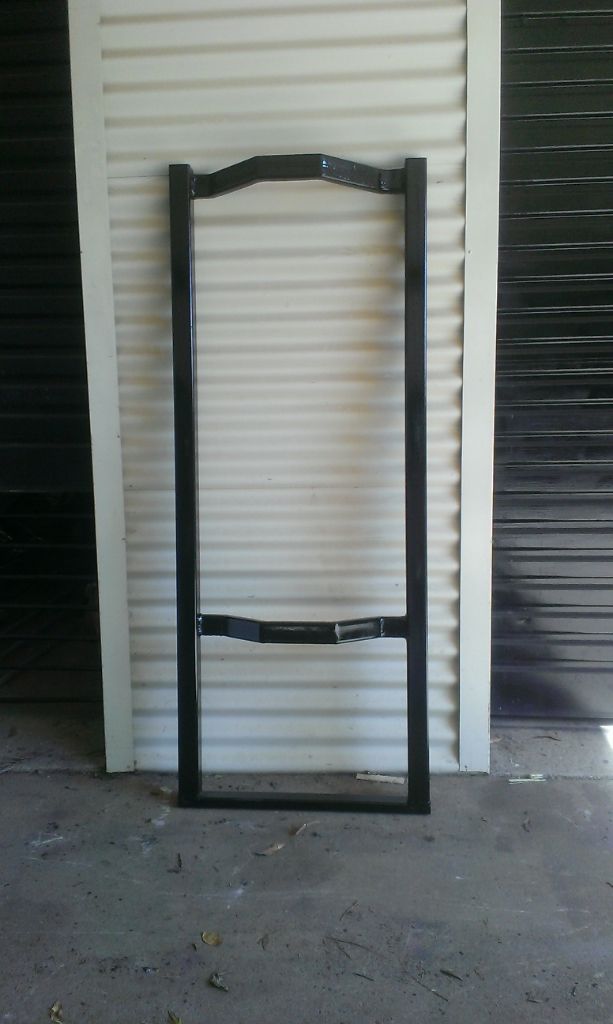
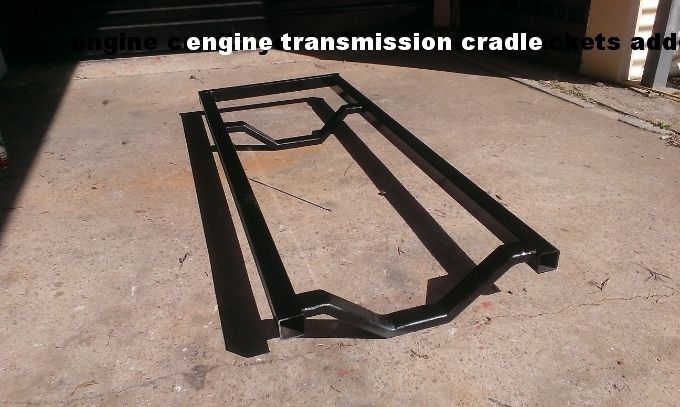
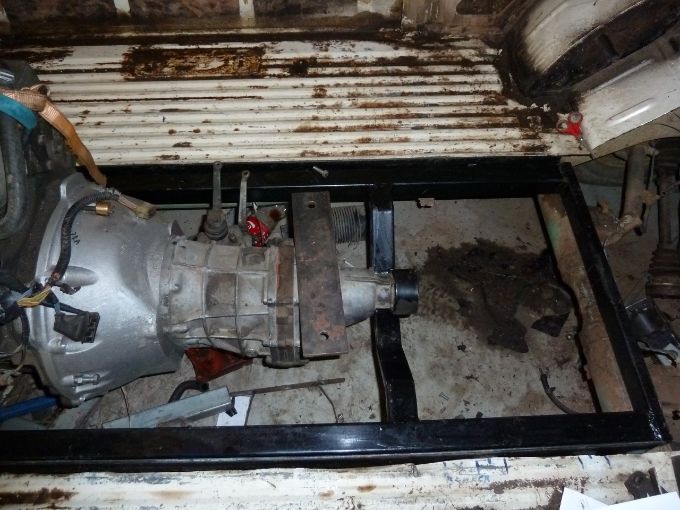
Frame all the way into floor. now for the drive train cradle this will carry the motor gearbox & transfer case & will be able to lift out as a complete unit once everything is unplugged
 |
|
| Back to top |
|
|
roverv8bay
Initiate Jedi
Joined: 14 Apr 2013
Posts: 38
Location: sunshine coast australia
|
| Posted: Sun Jun 22, 2014 10:08 am Post subject: |
|
|
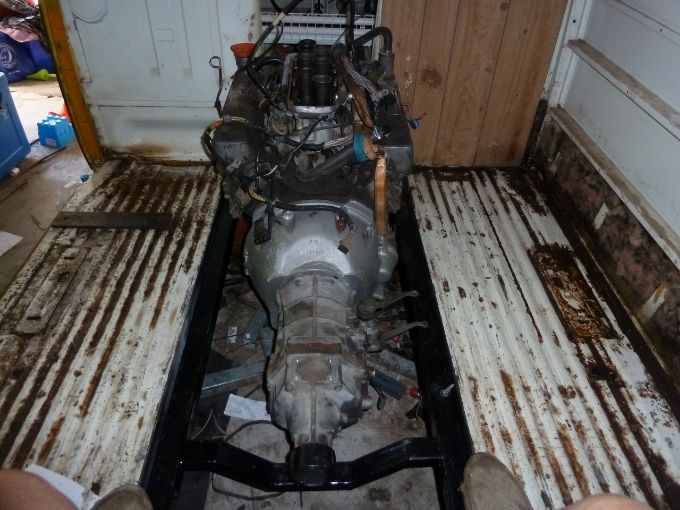
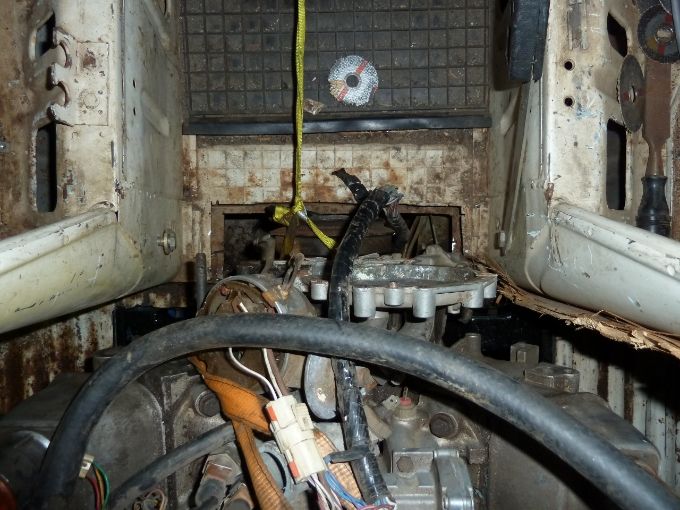
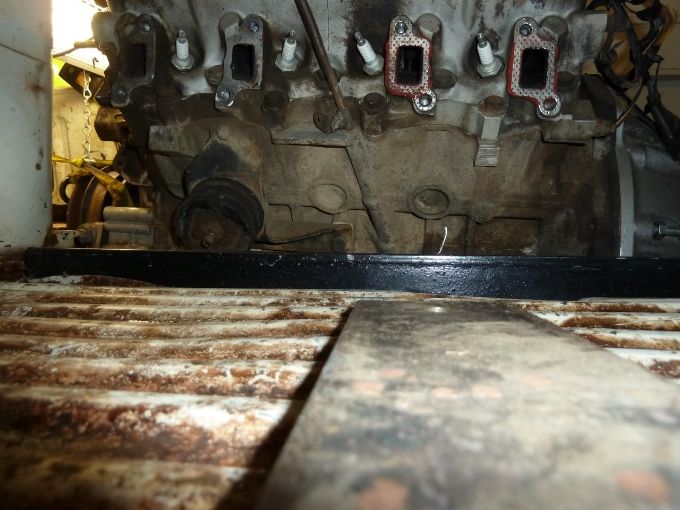
drive train in situ waiting for mounts to be finalised for design from the back less transfercase
 |
|
| Back to top |
|
|
roverv8bay
Initiate Jedi
Joined: 14 Apr 2013
Posts: 38
Location: sunshine coast australia
|
| Posted: Sun Jun 22, 2014 10:17 am Post subject: |
|
|
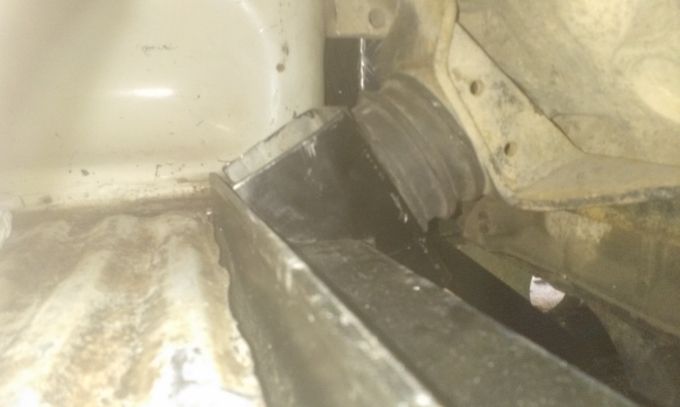
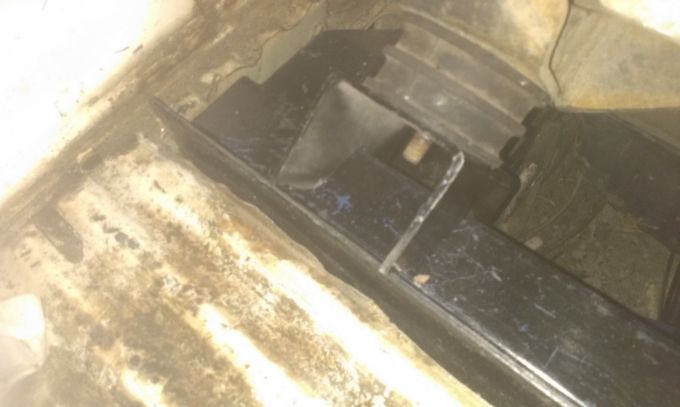
height of gearbox above floor line

engine mounts yet to have bottom plates welded on to bolt thru to cradle
 |
|
| Back to top |
|
|
roverv8bay
Initiate Jedi
Joined: 14 Apr 2013
Posts: 38
Location: sunshine coast australia
|
| Posted: Sun Jun 22, 2014 10:31 am Post subject: |
|
|
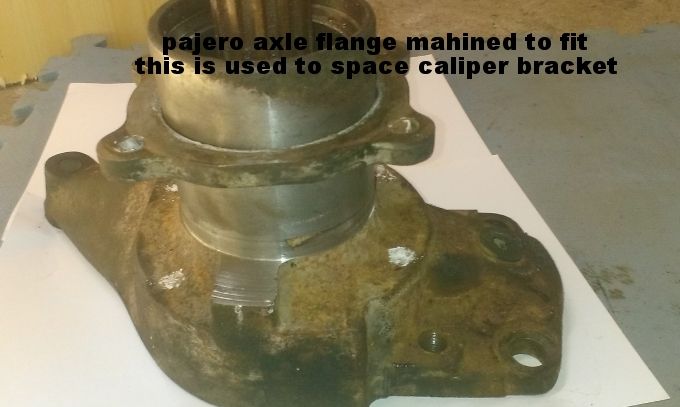
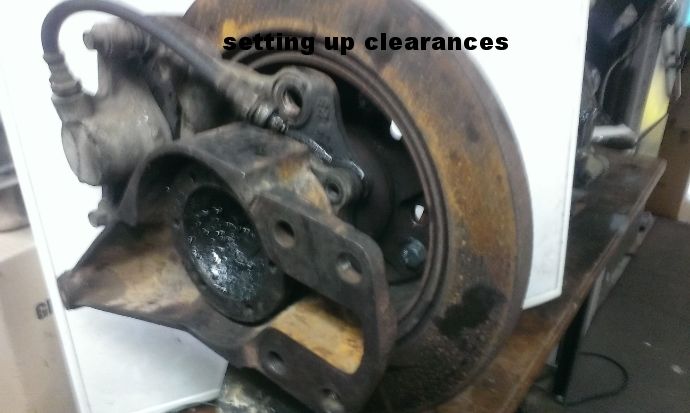
the rear disc brakes out of a Mitsubishi pajero. by skimming .5 of a mm off the kombi beaing carrier & the caliper bracket off the Pajero the caliper mount slips over the bus carrier then it needs 2 spacers between it & the carrier the axle hubs are yet to have the bus bolt holes plugged & welded up

 |
|
| Back to top |
|
|
roverv8bay
Initiate Jedi
Joined: 14 Apr 2013
Posts: 38
Location: sunshine coast australia
|
| Posted: Sun Jun 22, 2014 10:44 am Post subject: |
|
|
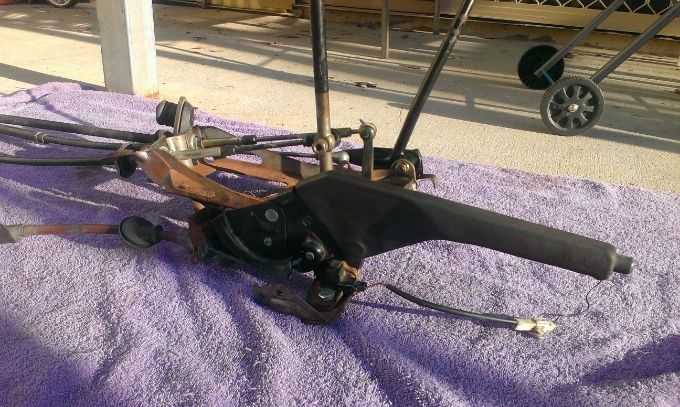
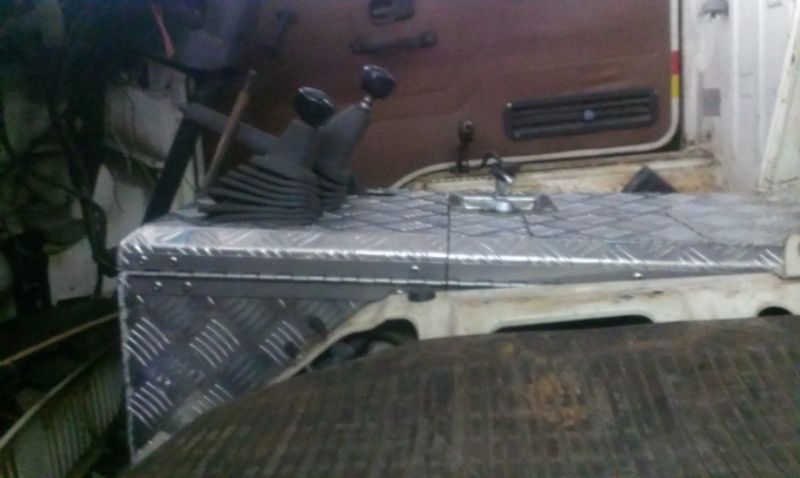
Asbled to check spacing's. the shifter handbrake transfercase lever's consist of a tarago shifter for gearbox the transfercase lever will be bolted up to tarago bracket the handbrake is hi ace

they will be housed in what was a tool box I have since cut it down in length so shifter is further back by 150mm.
 |
|
| Back to top |
|
|
roverv8bay
Initiate Jedi
Joined: 14 Apr 2013
Posts: 38
Location: sunshine coast australia
|
| Posted: Sun Jun 22, 2014 10:54 am Post subject: |
|
|
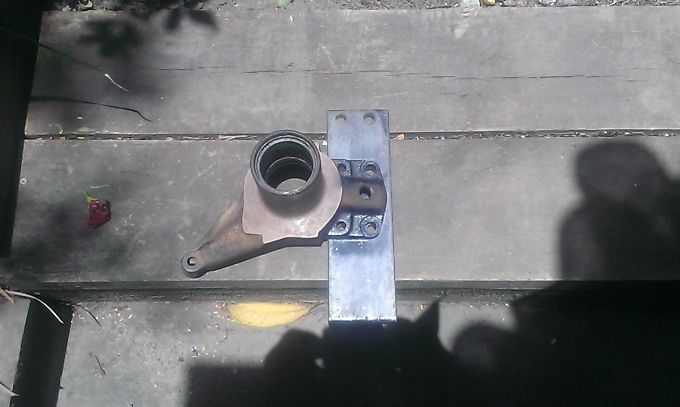
This is the 12mm thick spacer & lift plate for the rear this is needed to space out the carrier to allow for the extra width of the diff & adapters by having 6 holes in it I can set it up at standard height or move the carrier down 1 hole to lift it by 80mm.
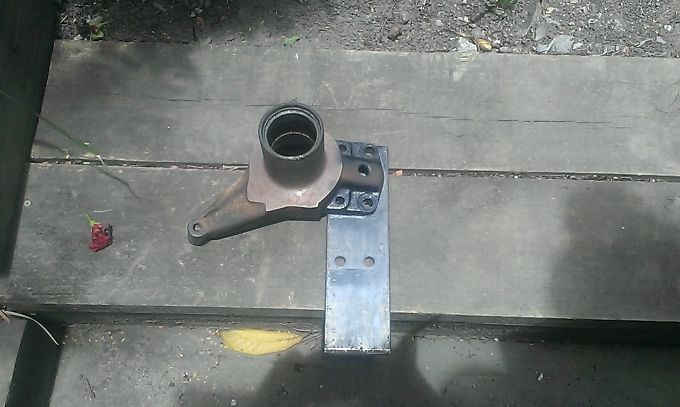
lift position
 |
|
| Back to top |
|
|
roverv8bay
Initiate Jedi
Joined: 14 Apr 2013
Posts: 38
Location: sunshine coast australia
|
| Posted: Sun Jun 22, 2014 11:21 am Post subject: |
|
|
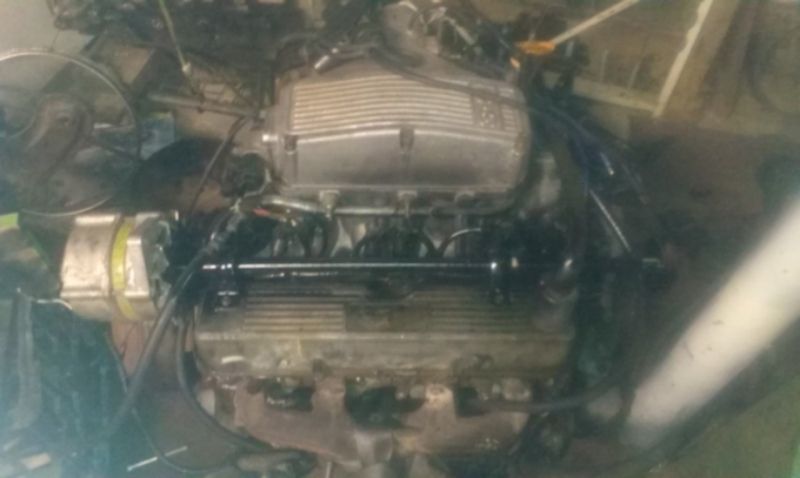
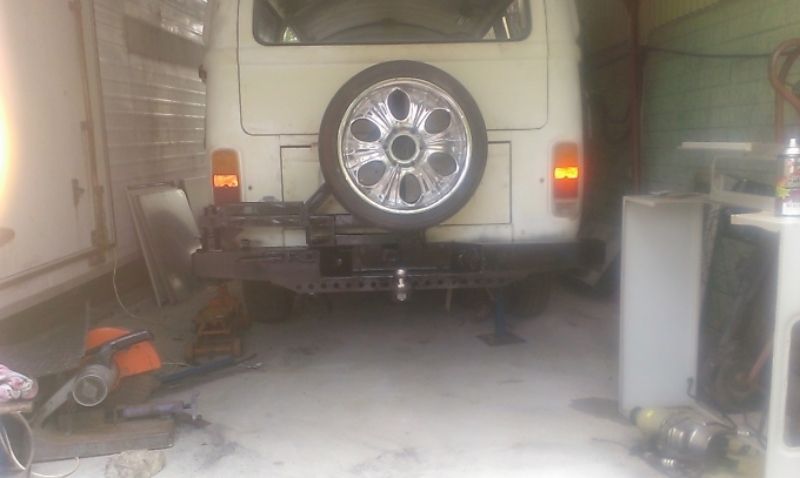
due to lack of space in engine bay I have to mount the alternator on the rear of the head with a 20mm round bar running to the front with the pulley on it then connected to the alternator with a rubber donut of steering column. the bearing carriers will be moved once the position is finalised
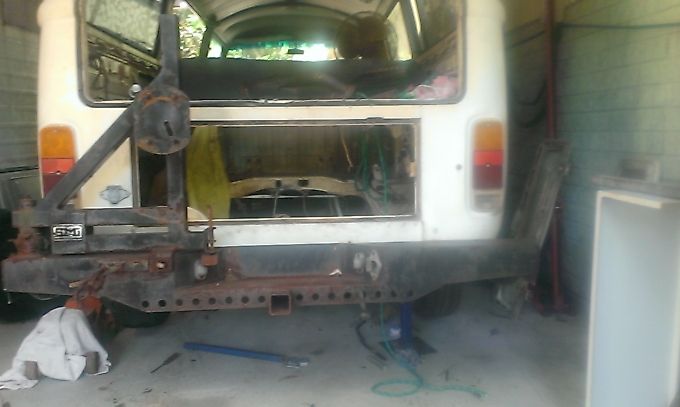
fitting off road tyre carrier towbar combination off a Holden rodeo about 1999 model it's neat fit up to chassis rails on the bus I just have to notch the top of the brackets to lift it up 40mm I modified it but not happy with it so changing it again
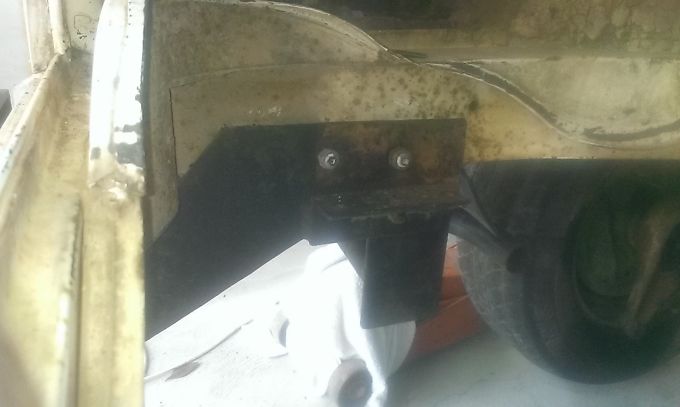
need to notch on top of brackets where they go under the rear panel & reinforce them
 |
|
| Back to top |
|
|
roverv8bay
Initiate Jedi
Joined: 14 Apr 2013
Posts: 38
Location: sunshine coast australia
|
| Posted: Sun Jun 22, 2014 11:32 am Post subject: |
|
|
this is the bar now have to move the spindle over to clear the light. I was going to mount reversing lights in bar but don't like the idea so cut again
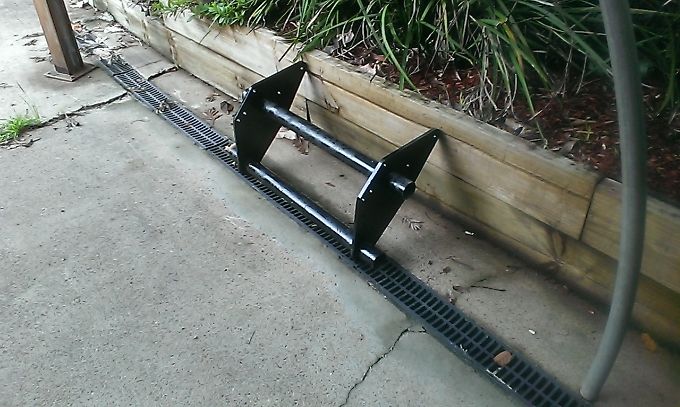
I had to spread the beam tubes to fit the rodeo spindles in the plates were jet watercut out of 12mm plate the tubes rotate inside so once it's all bolted together in the bus I can set the ride height & spot weld it the take it to get it welded by the tailshaft company for safety.
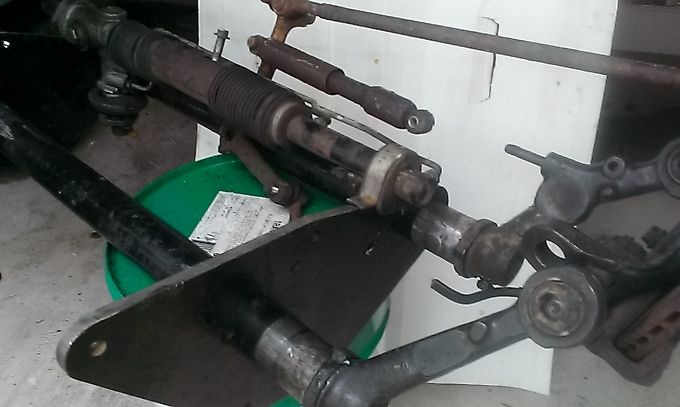
the steering is Daewoo power I'm using an astra electric power steering pump instead of trying to fit a belt driven 1
 |
|
| Back to top |
|
|
roverv8bay
Initiate Jedi
Joined: 14 Apr 2013
Posts: 38
Location: sunshine coast australia
|
| Posted: Sun Jun 22, 2014 11:43 am Post subject: |
|
|
more of front end
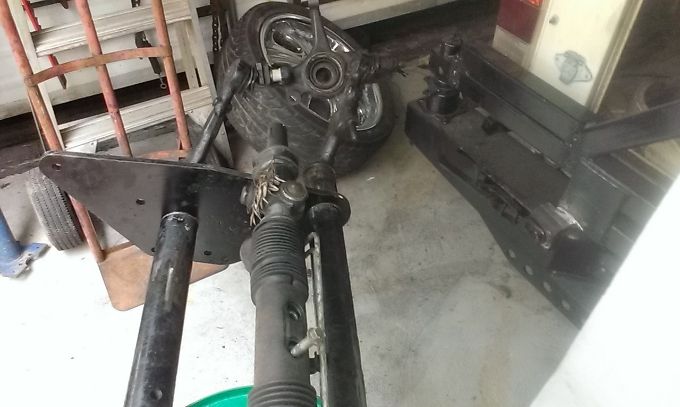
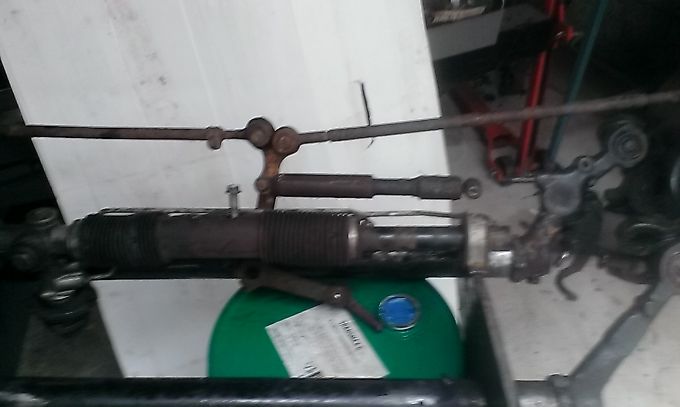
and that's where I'm up to for now
ernie |
|
| Back to top |
|
|
|


 FAQ
FAQ Search
 Memberlist
 Usergroups
 Register
 Profile
 Log in to check your private messages
 Log in


